|
| OO Scale | N Scale | G Scale | Z Scale | HO Scale | Slot Cars & R⁄C |
| |||||||
|
|||||||
| Home Page | |||||||
| BUY GIFT VOUCHERS | |||||||
| Products | |||||||
| Latest News | |||||||
| RIGHT LINES | |||||||
| Bargains | |||||||
| Downloads | |||||||
| Events | |||||||
| Careers & Jobs | |||||||
| Carriage Services | |||||||
| About Us | |||||||
| Contact Us | |||||||
| Pay Us A Visit | |||||||
| Meet The Staff | |||||||
| Links | |||||||

| SHOPPING BASKET |
Your shopping basket is empty. To add an item, click the "Buy" button
| YOUR ACCOUNT | ||
|
||||
 |
||||
| Prodigy Advance Digital System |
||||
| Cased Controllers |
||||
| Panel Mount Controllers |
||||
| Walkabout Controllers |
||||
| Modules & Transformers |
||||
| Scenics & Accessories |
||||
| Wiring & Electrical Components |
||||
| Tiny Signs | ||||
| Tools | ||||
 |
||||
| RECENTLY VIEWED |
| FA180914 - Blue Dumpsters (2) Kit | ||
| N07343 - Dark Green Structure Foam 5mm (15g) | ||
| MN89835 - Locomotive Roundhouse Kit | ||
| FM6526 - Spare Coupling with Rivet and Slot Fitting | ||
| PK62814 - North Pole Icicles Set | ||
| More ›› |
| O Scale | Wargaming | Architectural | Narrow Gauge | Tools+ | ||
Weathering with Acrylic Paints

PAT PETTETT shows us how to dirty up a wagon...
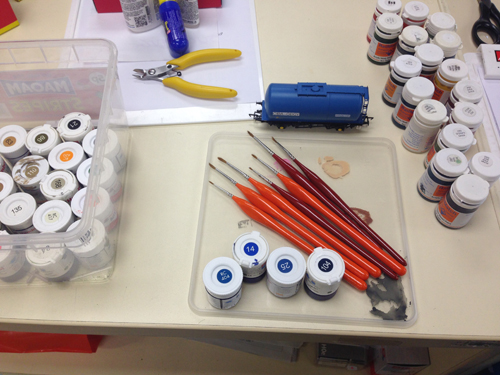
In this article, we will be taking an out of the box Bachmann tank wagon, and making it look like most wagons uncared for and unloved. We only need a few things for this a selection of paint brushes (including one that has seen better days if you have one), water, a selection of acrylic paints, and something to serve as a palette for mixing.
Weathering is not just dirt - there is more to it than that! Paint fades over time, especially for something that is exposed to the elements continually. Stickers and vinyls get scratched and chipped, so there is far more to think of than simply slapping dirty paint on things!
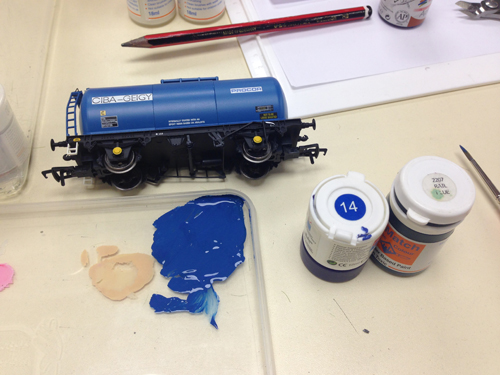
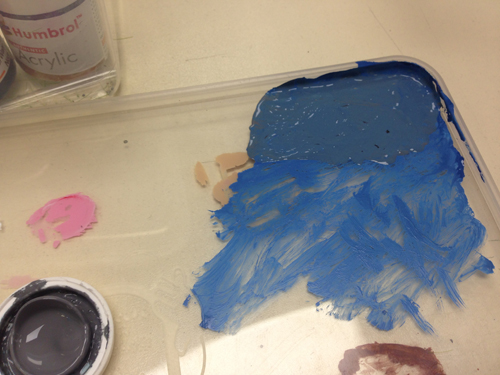
As we will be lightening the factory paint finish, the first thing we will need to do is match the factory finish. Lacking a direct match out of the pot some mixing is required here is what we need:
Looking through the blues I have available, the best fit seems to be somewhere between Rail Blue, and Humbrol 14 French Blue. Mixing small amounts of the two together, we have our base colour:
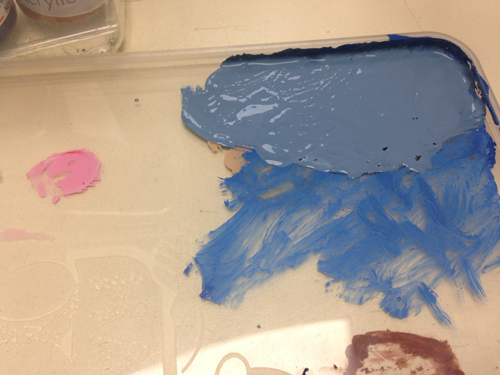
As you mix you can test the colour match on an out of the way area, and in any case we are repainting the wagon so small variances are quite ok. Now we have our base colour we can start to drybrush the main body. But what is drybrushing? Almost as it sounds we will be using a brush dipped in paint, and then wipe most of that paint off. We will also be using the brush in a particular way, to make the most of the raised detail whilst leaving the deeper recesses of the model untouched. This is quite rough on brushes, so dont use your best for this it tends to work better with old brushes. Dip the brush in the mixed paint, and using a piece of paper (preferably white so you can see the colour more clearly) wipe off most of the paint:
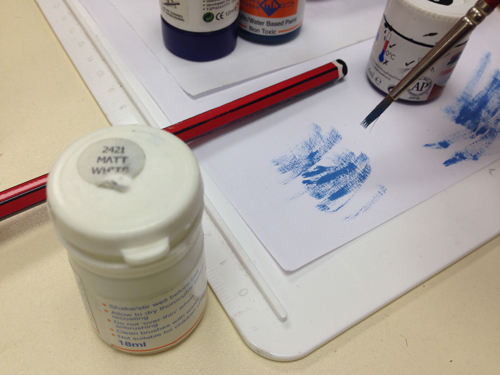
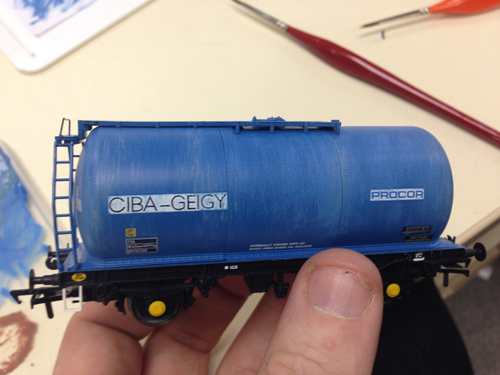
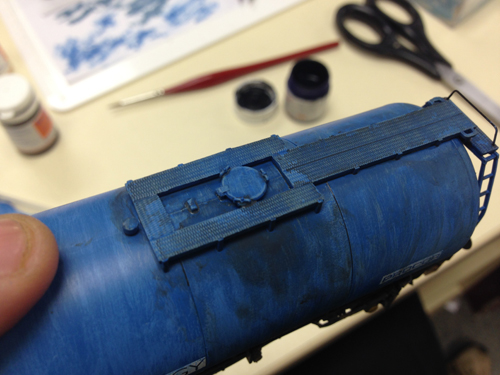
As you can see from the picture above, the first wipes of the brush take off a lot of paint the strokes at the top show how much paint we need left on the brush. We need to draw the nearly dry brush quickly and lightly over the surface of the model (imagine dusting off an old model with a brush, you can work quite quickly). On the sides of the tank we work vertically, as this is the direction the dirt will slowly migrate in. At the ends and near complicated detail, we simply work at the most exposed areas. We can see the beginnings of the effect on the tank:
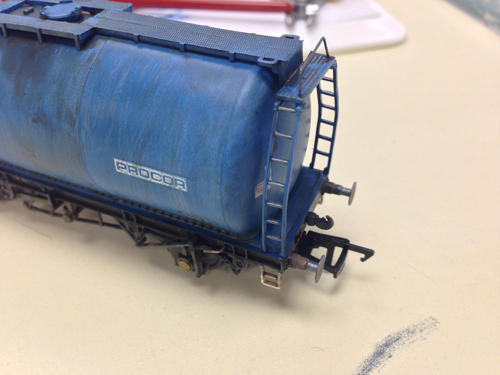
Notice that I have allowed the brush to pass over the branding on the side this is intentional! As we matched the paint colours before starting, it gives a faded, patchy appearance, as if the paint underneath the logos is starting to show through.
Next we will add final highlights to the blue tank to do this we need a lighter, flatter version of our blue. I start by adding some medium grey to flatten the blue:
We then add some white to lighten the paint up:
This is then drybrushed over the tank, more lightly than before as we dont want too extreme a result:
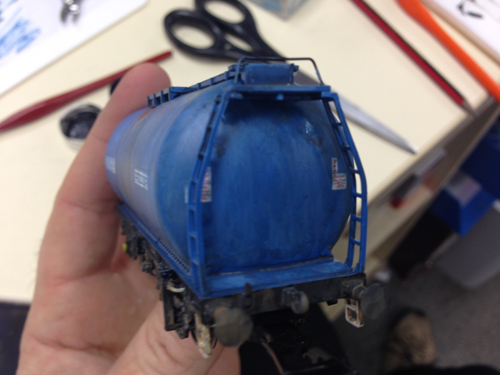
Leave aside to dry for a while we will now start on the underframe! This is moulded in a black colour it may once have been when the wagon was leaving the factory, but since then it would have been covered in brake dust and general grot nobody gives wagons a bath...
Using a mid-brown colour, we water it down so it will not cover too thickly there are markings present on the underframe and we still want to see them. Apply this "wash" liberally over the underframe, taking care that it reaches all the nooks and crannies. The details on the underframe can still be seen, and I have deliberately left the axle boxes clear:
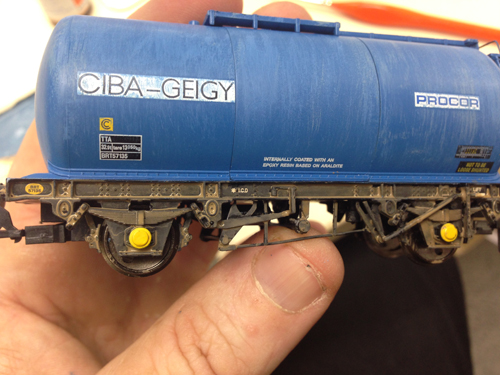
These will be covered in a darker but thinner wash once the first thin brown coat is dry simply add some black to the paint mix, and thin it down with water we are aiming for an inky consistency:
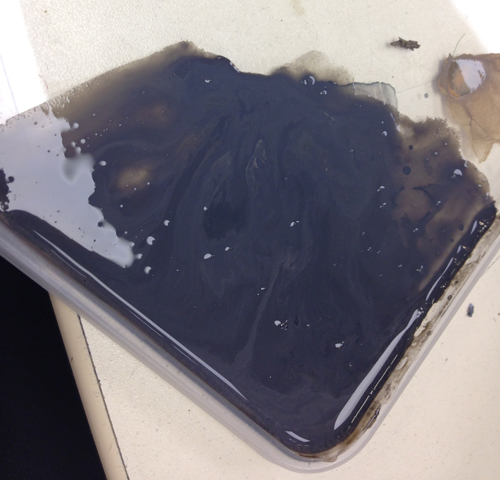
This is now liberally applied over the underframe to start with all over including the axle boxes, the buffer-beams, and then we will add yet more water, before we run it into every sheltered area of the model the paint will pool in recesses just like dirt does. You can even wipe the muck around with a finger if you want! If an area is covered too thickly for your liking, just add water to thin it down.
At the top of the tank, Ive run the inky mix around the walkway and hatch:
The mix is also run around the bottom of the tank, and anywhere where dirt could accumulate, looking good so far:
We now move on to a few final details whilst the ladder is painted blue, anywhere that sees reasonable foot traffic will have the paint worn off, so a touch of gunmetal paint is added to the rungs of the ladder. The shaft of the buffers also move frequently enough to prevent the build-up of dirt and rust, so we add some gunmetal there too:
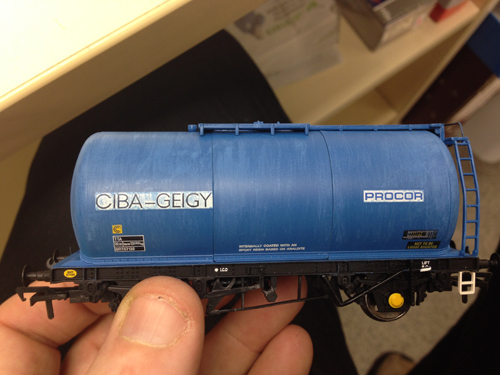
And thats it! In around half an hour, weve taken a bog standard Bachmann wagon and turned it into a well used but slightly uncared for example. It really is quick and easy to do this you can spend as long as you want weathering if there is a specific level of gunge you are aiming for most of all have fun experimenting and see what you can do!
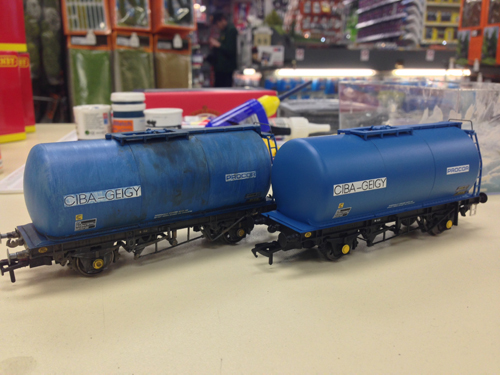
Weathered example on the left, compared to one straight out of the box.
If you come into our shop Pat would be happy to show you his weathering skills, but he charges extra for facepainting...
|


We are always looking to make improvements to our website to try and improve the quality of your visit. We would welcome your feedback and suggestions, so please do not hesitate to e-mail our webmaster with your comments. Alternatively call us on 01903 884488.
Home Cookies Privacy Statement Terms & Conditions Site Map Site Guide
WEEE Regulations Glossary Careers & Jobs
Tel – +44 (0) 1903 884488 Fax – +44 (0) 1903 884377 E-Mail us – click here
Gaugemaster.com is a trading name of Gaugemaster Controls Ltd.
Registered in England No. 2714470, Registered office:
Gaugemaster House, Ford Road
Arundel, West Sussex, BN18 0BN, United Kingdom
VAT Reg. No. 587 8089 71
Copyright © 2003-2014 Gaugemaster Controls Ltd. All Rights Reserved.