|
| OO Scale | N Scale | G Scale | Z Scale | HO Scale | Slot Cars & R⁄C |
| |||||||
|
|||||||
| Home Page | |||||||
| BUY GIFT VOUCHERS | |||||||
| Products | |||||||
| Latest News | |||||||
| RIGHT LINES | |||||||
| Bargains | |||||||
| Downloads | |||||||
| Events | |||||||
| Careers & Jobs | |||||||
| Carriage Services | |||||||
| About Us | |||||||
| Contact Us | |||||||
| Pay Us A Visit | |||||||
| Meet The Staff | |||||||
| Links | |||||||

| SHOPPING BASKET |
Your shopping basket is empty. To add an item, click the "Buy" button
| YOUR ACCOUNT | ||
|
||||
 |
||||
| Prodigy Advance Digital System |
||||
| Cased Controllers |
||||
| Panel Mount Controllers |
||||
| Walkabout Controllers |
||||
| Modules & Transformers |
||||
| Scenics & Accessories |
||||
| Wiring & Electrical Components |
||||
| Tiny Signs | ||||
| Tools | ||||
 |
||||
| O Scale | Wargaming | Architectural | Narrow Gauge | Tools+ | ||

PRODUCT SPOTLIGHT - Gaugemaster Seafoam Trees

PAT PETTETT explains how to use this useful tree-making material.
Whilst we are all familiar with the great strides taken by the ready to run manufacturers over the years, there have been plenty of advances in realism in other areas as well during my youth, trees were largely limited to plastic carbuncles. The other alternative was to make your own I made more than a few using twisted wire and parcel string...
Most of the trees on the market today are best suited to fill specific areas parks and gardens are of course better kept than the wilds, and most of the off-the-shelf trees still represent these areas better. With the advent of seafoam as a readily available modelling material we can now make wild, organic looking forest areas with ease here we take a look at just how to do that!
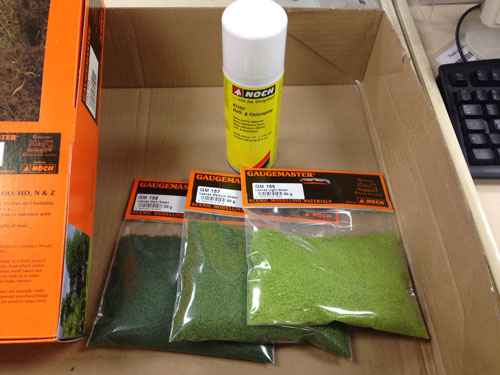
WHAT DO WE NEED?
Very little the Seafoam Trees themselves, some spray glue either an aerosol can like the Noch Spray and Fix, or PVA wood glue mixed with water and a drop of washing up liquid in a garden spray bottle and of course leaf material. A box or tray to catch the overspill is a must firstly so we do not risk the ire of the domestic authorities, and secondly so we can re-use what falls off!
Opening the box, you can immediately see the natural shapes:
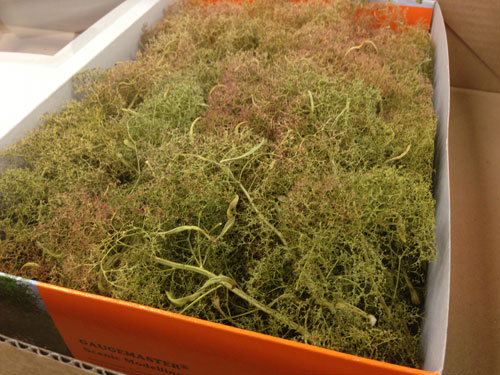
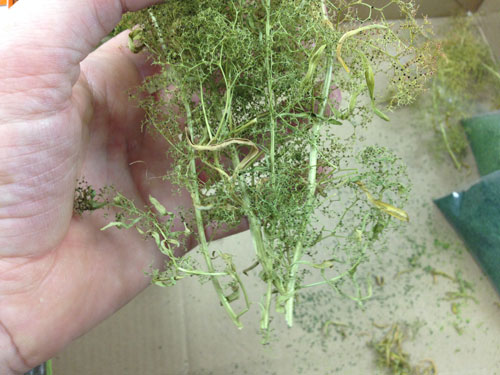
There is quite a lot of material present in the box, so it will need teasing out into useable pieces:

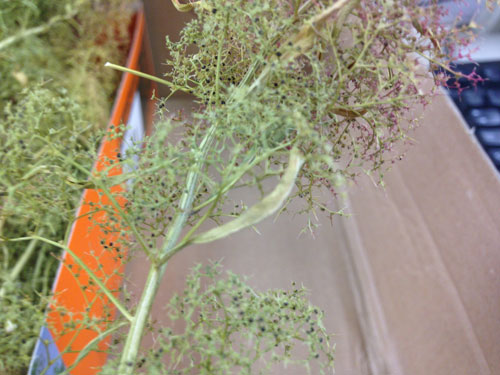
Gently removing a single strand, we can see there are a few leaves that will need removing first you can use tweezers if need be, but fingers work just as well!
Once you have removed the most visible leaves, we are ready to go! Give the branch a thorough spraying, and start sprinkling the leaf material over the branch. I'm using our own leaves, "but other colours are available as well from Noch in addition to Gaugemaster. Slowly rotate the branch as you go and spray some more glue on if needed, as the whole tree needs to be sticky enough to catch the leaves. We find a random mix of the 3 shades of leaves works well, and gives the most natural look you can of course limit yourself to the lighter shades (for summer) or darker ones (for wet, wintry layouts) as you see fit.

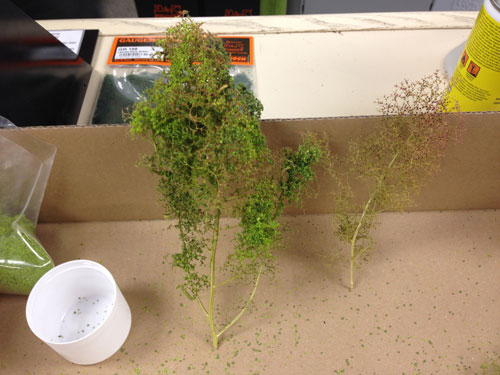
Here we see a comparison between an untreated branch on the right, and one with the lightest leaves applied to the left:
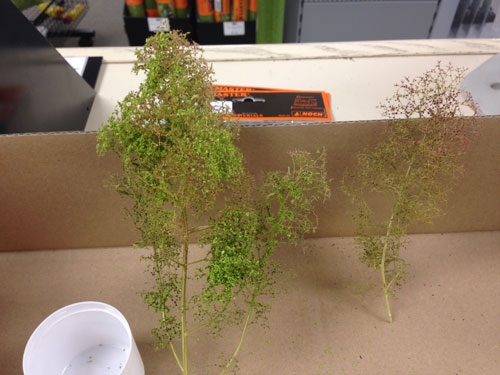
Adding darker leaves to the tree gives more depth:
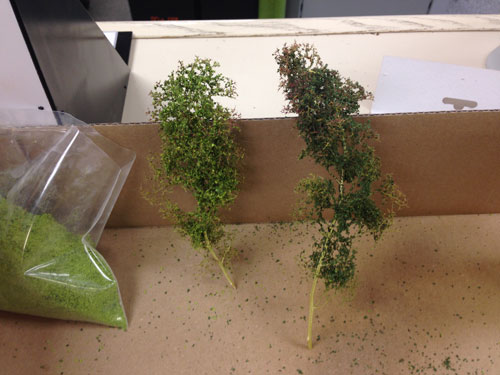
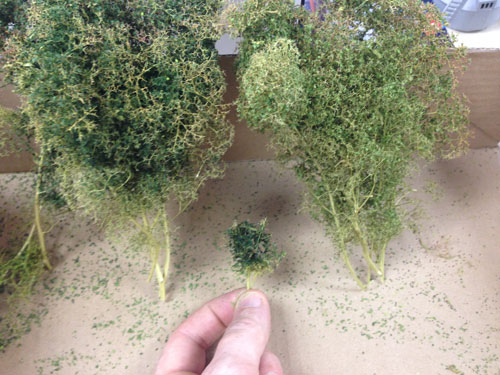
Using the darker shade alone makes quite a contrast, the tree on the right here has been treated with only the darkest leaves:
Now on their own, these look quite spindly not quite the lush forest we are looking for. The trees as supplied are quite clumpy, so we use several at once and we will get a much better look first we remove the leaves as before:
And after a trim:
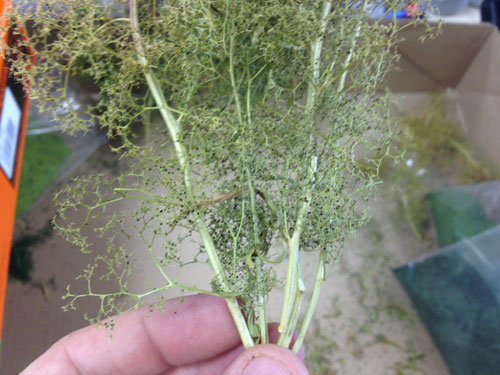
Keeping the clump together at the bottom, we once again spray and sprinkle a variety of shades dont worry if you lose a few chunks of tree whilst you work we can re-use these as cover for the forest floor:
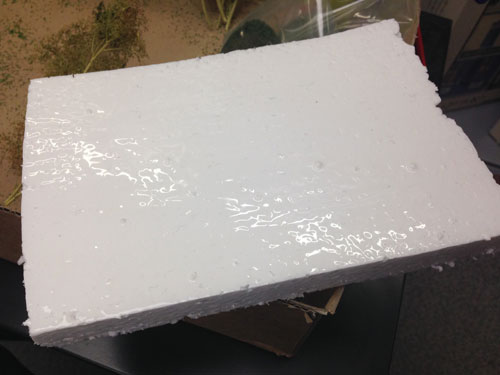
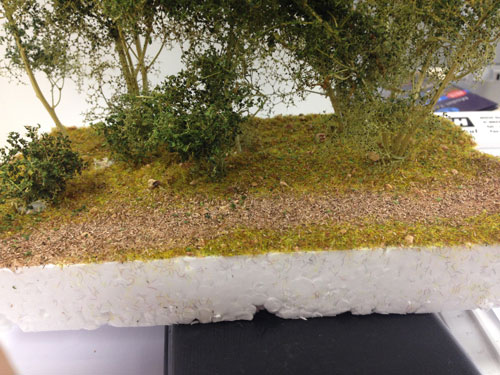
Around this point I was starting to see the wood past the trees so I decided to put together a little forest diorama to show the end results better. A polystyrene offcut was coated with PVA wood glue:
Some GM174 Woodland Floor Grass Flock was applied, leaving room for a forest path:
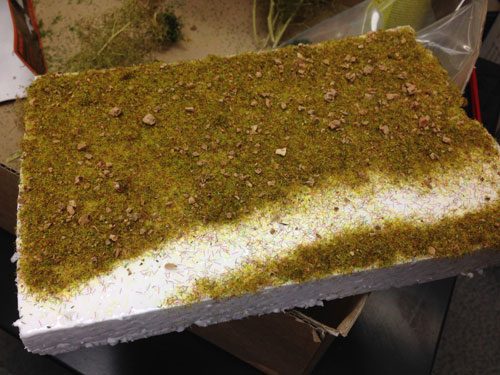
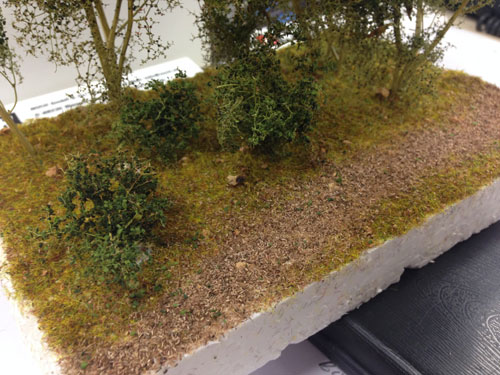
Brown scatter was used for the path:
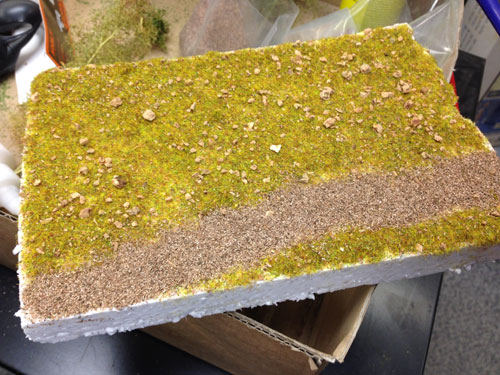
And the trees are ready to plant as this is polystyrene, the stalks will push in easily I would recommend making small holes if you have a more rigid scenic shell. Larger trees were placed to the back, smaller shrubs near the path:
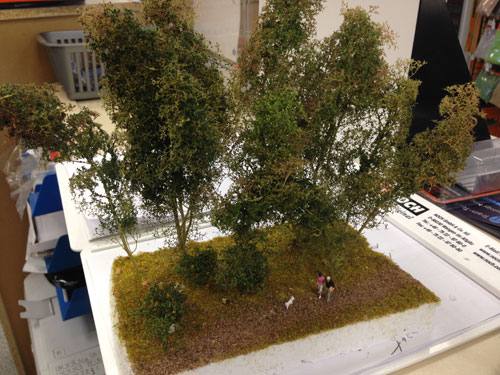
The entire area receives another spraying of glue once assembled this will help minimise scatter falling off. All we need now are the final touches:
And there we go! These really are one of the easiest ways of getting decent, natural looking trees. Thoroughly recommended!
We look forward to more of Pat's Treemendous scenic tips in future articles...
|


We are always looking to make improvements to our website to try and improve the quality of your visit. We would welcome your feedback and suggestions, so please do not hesitate to e-mail our webmaster with your comments. Alternatively call us on 01903 884488.
Home Cookies Privacy Statement Terms & Conditions Site Map Site Guide
WEEE Regulations Glossary Careers & Jobs
Tel – +44 (0) 1903 884488 Fax – +44 (0) 1903 884377 E-Mail us – click here
Gaugemaster.com is a trading name of Gaugemaster Controls Ltd.
Registered in England No. 2714470, Registered office:
Gaugemaster House, Ford Road
Arundel, West Sussex, BN18 0BN, United Kingdom
VAT Reg. No. 587 8089 71
Copyright © 2003-2014 Gaugemaster Controls Ltd. All Rights Reserved.