|
| OO Scale | N Scale | G Scale | Z Scale | HO Scale | Slot Cars & R⁄C |
| |||||||
|
|||||||
| Home Page | |||||||
| BUY GIFT VOUCHERS | |||||||
| Products | |||||||
| Latest News | |||||||
| RIGHT LINES | |||||||
| Bargains | |||||||
| Downloads | |||||||
| Events | |||||||
| Careers & Jobs | |||||||
| Carriage Services | |||||||
| About Us | |||||||
| Contact Us | |||||||
| Pay Us A Visit | |||||||
| Meet The Staff | |||||||
| Links | |||||||

| SHOPPING BASKET |
Your shopping basket is empty. To add an item, click the "Buy" button
| YOUR ACCOUNT | ||
|
||||
 |
||||
| Prodigy Advance Digital System |
||||
| Cased Controllers |
||||
| Panel Mount Controllers |
||||
| Walkabout Controllers |
||||
| Modules & Transformers |
||||
| Scenics & Accessories |
||||
| Wiring & Electrical Components |
||||
| Tiny Signs | ||||
| Tools | ||||
 |
||||
| RECENTLY VIEWED |
| OR76PIL005BW - Pilchard Wagon BR Bauxite DB990084 Weathered | ||
| DA4F-050-102 - O&K JHA (Middle Hopper) Foster Yeoman Early 19337 | ||
| OD76AMVT002 - Aston Martin V12 Vantage S Lightning Silver | ||
| DA2F-013-081 - Gunpowder Van BR M701063 | ||
| FA163311 - Car System Motor for Houseboat | ||
| More ›› |
| O Scale | Wargaming | Architectural | Narrow Gauge | Tools+ | ||

PRODUCT SPOTLIGHT - Gaugemaster Vehicle Lighting Kits

MATT LOVELL explains how to fit a vehicle lighting kit to a diecast truck.
Most layouts have vehicles on them but most just sit there static with no life. With the addition of a Vehicle Lighting Kit any vehicle can be transformed from car just placed on the layout into to a realistic feature which will draw the eye.
In this article I'll be using the GM387 Service Vehicle Lighting Kit. In this kit you will find a battery pack, a 3v battery, a resistor, two orange 0.7mm LEDs, two white 0.7mm LEDs, a flash unit and a 1.2mm drill bit.
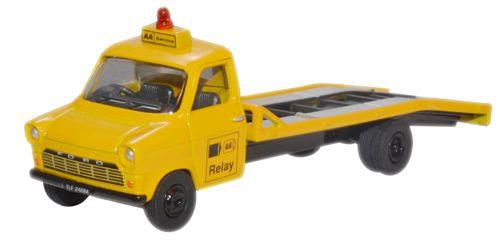
I am going to install it into the Oxford Diecast OD76FTB002 Ford Transit Beavertail AA Recovery Truck. You will need the following tools:
- Soldering Iron
- Rotary Drill
- Small Screwdriver Set
- 1.2mm Drill Bit (supplied with the kit)
- Helping Hands Set
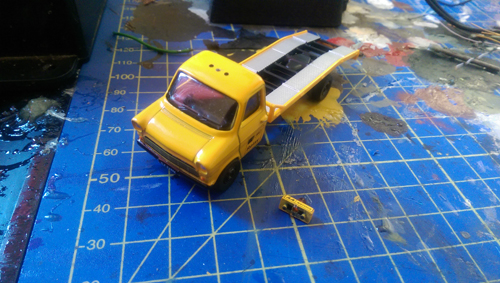
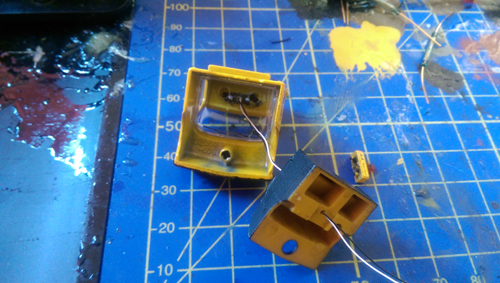
I started by removing the top light.
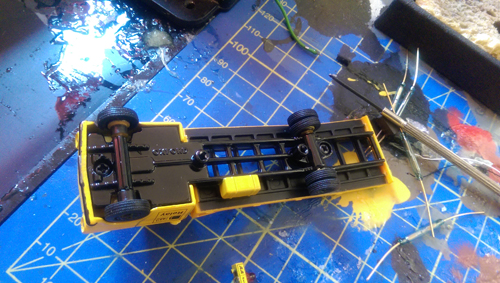
Remove the cab from the chassis by undoing the screw at the front of the vehicle.
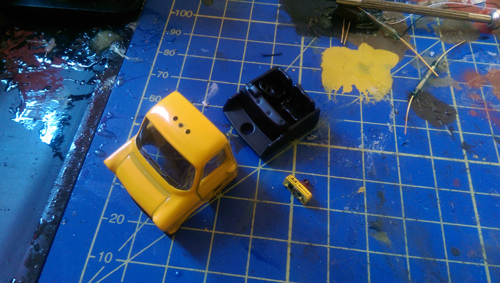
Next, using the drill bit and rotary drill make a hole in the top of the cab, I recommend making the hole between the two lug-holes. Then remove the cab interior by gently pulling it towards you. This will make it easier to make the hole to pass the wires through.
Pass the orange LED wires through the hole in the cab and through the hole in the interior. At this point it is a good idea to build the battery pack and solder the resistor on to one the positive legs(outer pins) this will help with testing the LEDs before making any permanent alterations to the model.
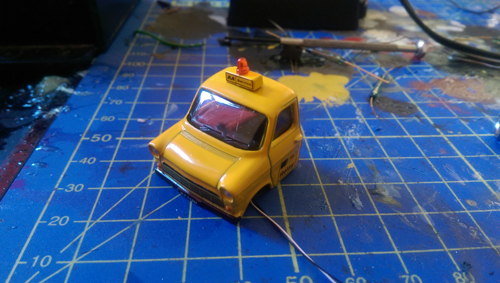
You can now glue the light back on to the cab.
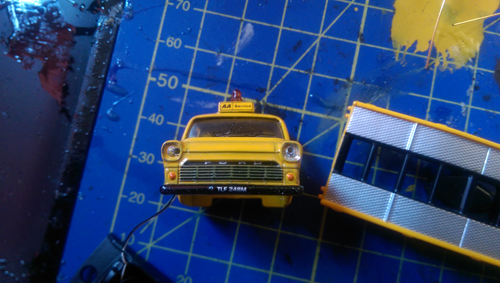
You can now start to drill the holes for the head lights. Carefully drill out the head lights so that the light can be emitted through them. Glue the white LEDs behind the holes using suitable superglue.
Once the LEDs are in place test them individually with the battery box to ensure they are working correctly before screwing the cab back on the chassis. Now all the LEDs are in place you can start to run the wires through the vehicle to the battery box, which can be fitted under the layout baseboard.
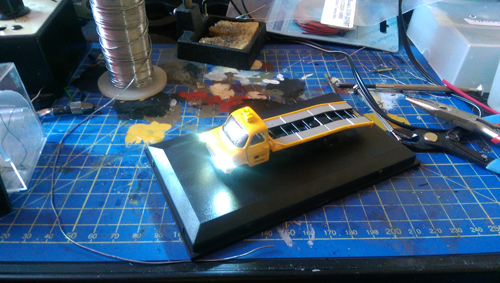
Matt tried installing these into his own little car, but it didn't pass the MOT...
|


We are always looking to make improvements to our website to try and improve the quality of your visit. We would welcome your feedback and suggestions, so please do not hesitate to e-mail our webmaster with your comments. Alternatively call us on 01903 884488.
Home Cookies Privacy Statement Terms & Conditions Site Map Site Guide
WEEE Regulations Glossary Careers & Jobs
Tel – +44 (0) 1903 884488 Fax – +44 (0) 1903 884377 E-Mail us – click here
Gaugemaster.com is a trading name of Gaugemaster Controls Ltd.
Registered in England No. 2714470, Registered office:
Gaugemaster House, Ford Road
Arundel, West Sussex, BN18 0BN, United Kingdom
VAT Reg. No. 587 8089 71
Copyright © 2003-2014 Gaugemaster Controls Ltd. All Rights Reserved.